The Bojin Journal · Jaw & Neck
A 2-Minute Jaw Reset Before Your Next Video Call
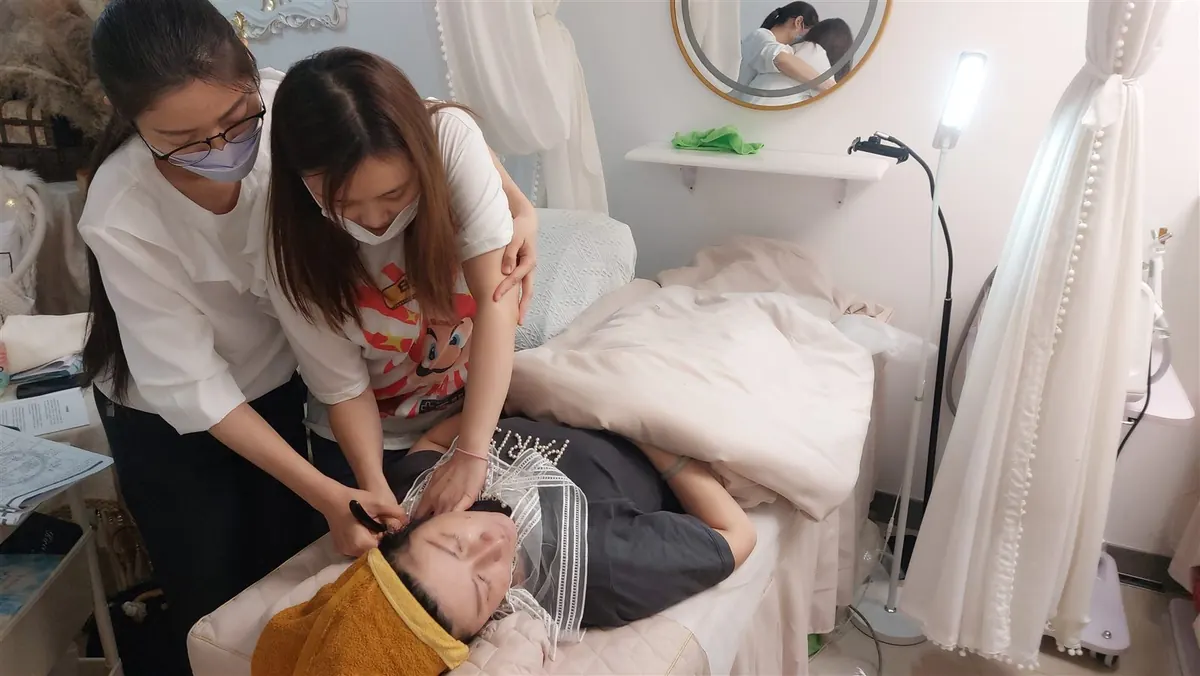
There's a specific kind of self-consciousness that only shows up in the seconds before a video call. You open the camera preview, catch the angle from below, and suddenly notice your jaw looks softer than it does in the mirror and your neck looks tighter than it feels. That's not your imagination. A laptop camera sits low and close, which flattens the lower face and exaggerates any puffiness under the chin or tension along the jaw. You don't need twenty minutes. You need about two, and a plan for exactly where to work.
Why does the camera make my jaw and neck look worse than the mirror does?
A mirror is usually at eye level or above, and you're standing a comfortable distance away. A laptop camera is often lower than your face and only a foot or two away, which is a much less forgiving angle: it looks up and slightly into the underside of the jaw and neck, exactly where fluid tends to settle and where a clenched jaw shows up as fullness. Add hours of looking down at a screen before the call even starts, and the front of the neck is already a little shortened and slack by the time you log on.
None of that is about how much you weigh. It's mostly fluid that hasn't moved on yet, a jaw that's been clenched through the morning's emails, and posture that's been pulling everything down and forward. Those three things happen to be exactly what a few focused minutes of gentle release can influence.
Why a jaw clench-and-release isn't the same thing
A lot of people's instinct before a call is to tense and relax the jaw a few times, like a quick stretch. It's not a bad impulse, but it mostly works the muscle in place. It doesn't move anything along or off the neck, and if your jaw was already tight, a few hard clenches right before a call can leave it feeling more wound up, not less.
Bojin works differently. If you know gua sha, this will feel familiar: they come from the same family of Chinese hands-on face care. But bojin is its own deliberate method. What makes it work is the order you work in, the angle you hold the tool or your fingertips, and the exact spot you're working. For a two-minute desk reset, that's what moves the needle: working the tight corner of the jaw at the right angle, then finishing by sweeping fluid down and off the neck, in that order.
A quick clench-and-release only works the muscle in place. This reset follows an order, an angle, and an exact spot, ending down the neck, not just at the jaw, which is what helps the area look a little more settled on camera.
Your 2-minute pre-call reset
Use clean fingertips, a smooth gua sha stone, or a bojin stick if you have one within reach. No oil or cream is required: if you already have moisturizer on from earlier in the day, that's plenty of glide; working dry with light pressure is fine too. Keep the pressure comfortable, never forceful, and never enough to redden or drag the skin right before you're on camera.
- Warm hands, drop your shoulders Rest your palms over your jaw and the front of your neck for two or three slow breaths. Let your shoulders come down from your ears and your teeth unclench. Ten seconds, but it tells the whole area to stop bracing before you start.
- Find the clench spot Press your back molars together for a second and feel where the muscle bulges just below your ear, at the back corner of the jaw. That's your starting spot. Release your jaw and bring your fingertips or tool there.
- Release the jaw corner Angle your fingertips or the tool to follow the jawbone and make several slow, short passes down and slightly forward along that tight corner. This is the spot most responsible for a jaw looking set and full on camera, so give it a few extra unhurried passes.
- Glide along the jawline From that corner, move down the length of the jawbone toward the chin, tucking the angle just under the bone rather than pressing on top of it. Two or three passes on each side is enough for a quick reset.
- Sweep down the neck Finish by sweeping from under the jaw down the sides of the neck to its base, several long slow passes. This is the step that matters most and the one people skip when they're rushed. It gives the fluid you moved somewhere to go instead of settling right back before your call starts.
What can I expect on camera?
Most people notice the jaw feels less clenched and the neck feels looser within a minute, and the area under the chin can look a touch less puffy and a little more defined on screen, especially if you tend to hold tension there by mid-morning. That's a real, useful difference for the ten seconds you spend glancing at your own video tile before a call.
Now the honest limit: this is a quick self-care habit, not a treatment, and it won't remove fat, erase a double chin, or reshape your jawline. No two-minute routine can do that, on camera or off. What it can do is ease the fluid and tension that a low, close camera angle tends to exaggerate. And if you notice anything sudden, one-sided, painful, or a lump that doesn't come and go, that belongs with your doctor, not a desk routine.
You don't need to overhaul your morning to feel more at ease with how you show up on screen. Two honest minutes, worked in the right order, right before you log on, can help your jaw and neck look and feel a little more settled, which is all a camera angle was ever exaggerating in the first place.
Quick answers
Can I do this with makeup on?
You can, but go gently and keep the pressure light so you're not dragging or smudging anything along the jaw. If you'd rather not disturb your makeup at all, do the warm-hands step and the neck sweeps only. Those alone can ease some of the tightness a camera picks up.
How is this different from tensing and relaxing my jaw?
Clenching and releasing mostly works the muscle, and it can leave a tight jaw feeling more worked up right before a call. This reset instead follows a specific order, angle, and spot along the jaw and neck to help ease tension and encourage fluid to move down and off, which is closer to what a camera shows.
Do I need a special tool at my desk?
No. Clean fingertips work fine for a quick desk reset, and if you already have some moisturizer on from that morning, that's enough glide. The traditional tool is a bojin stick, a slim polished stainless steel tool, which you can keep in a drawer for days you want a bit more precision, but it's not required.
Will this work with under 2 minutes?
Even 60 seconds spent on the jaw corner and the neck sweeps at the end is worth doing. That last step matters most. A full unhurried pass through all the steps takes about two minutes, but if your call starts sooner, prioritize the neck sweeps over the earlier steps.
See the order, angle, and spot for yourself
Reading about the jaw and neck reset is one thing; watching it is another. My free 3-minute video walks you through the exact order to work in, the angle to hold, and the spots to focus on, so you're ready the next time a call pops up on your calendar.
Watch the free 3-min videoYu-Ting Lan is a Taiwan-based international bojin instructor and the founder of Héhé Studio. She has taught her bojin method to more than a thousand students, from complete beginners to grandmothers, across Taiwan, Hong Kong, and Malaysia.