The Bojin Journal · Myths & real talk
Do you really need expensive facials? What a few home minutes can really do
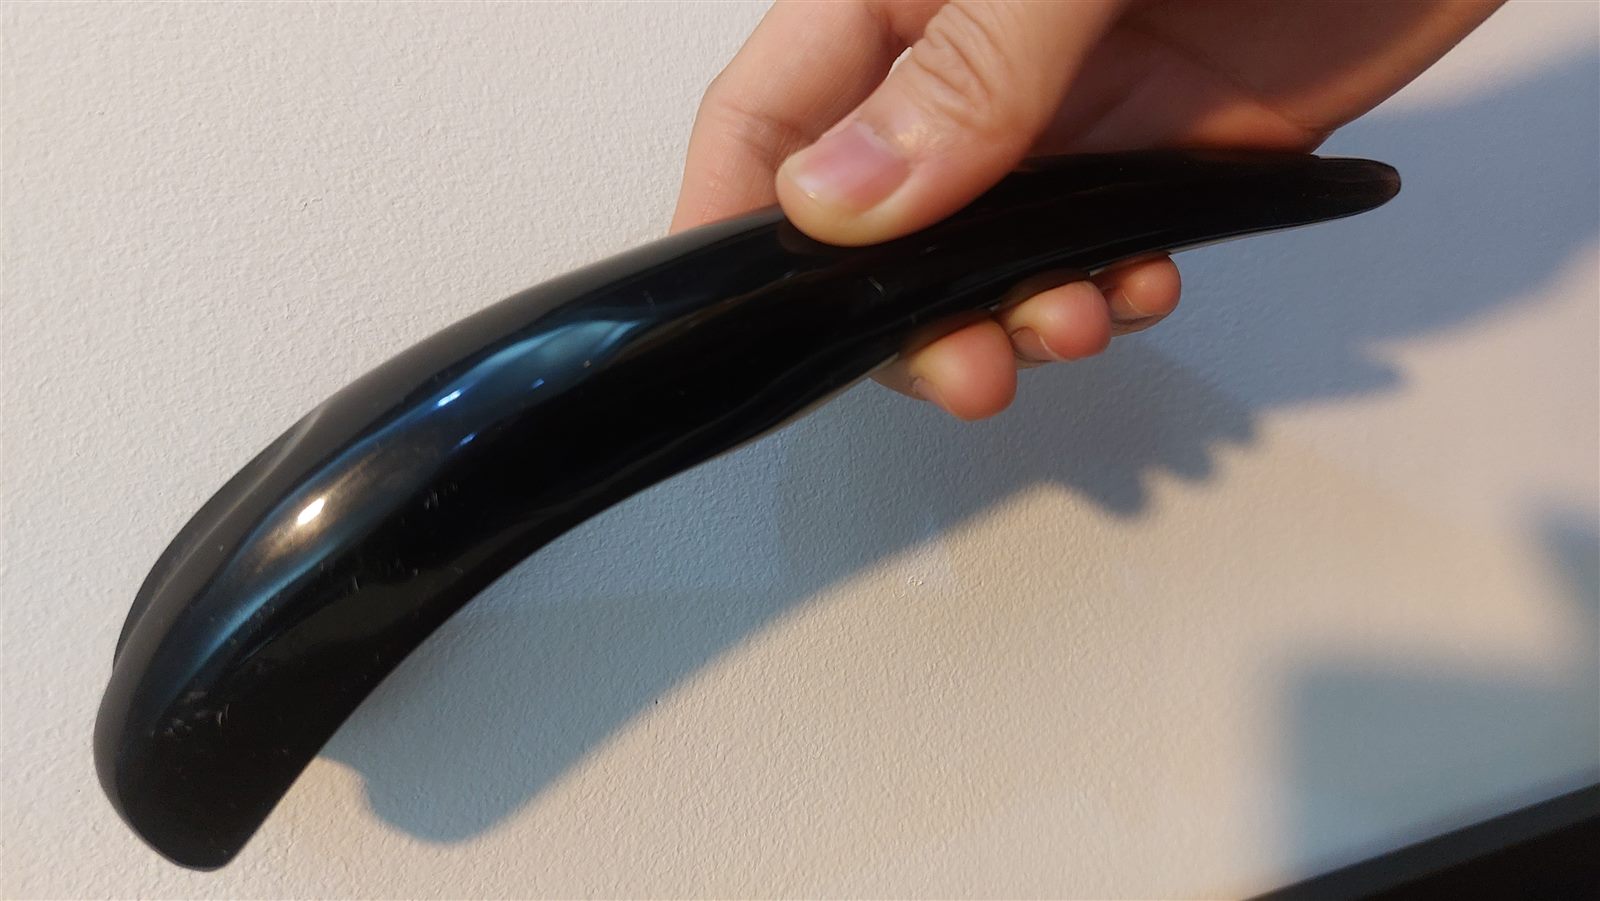
No, you don't need a standing appointment to keep your skin looking bright and lifted. A facial can feel wonderful, and there is nothing wrong with loving one. But a few quiet minutes at home, done with a little method, can do more than most of us expect. It won't match a clinical service, and it won't work miracles. What it can do is ease tension, help your skin look less puffy and more rested, and save you a good deal of money over a year. Let's look at what those minutes give you.
Why does my skin look tired even when I take good care of it?
By the time we reach our forties, fifties, and beyond, a few ordinary things start to show. Fluid settles overnight and pools where it can, which is why a face can look puffier in the morning. Circulation slows a little, so skin can look flatter or duller than it did years ago. And the small muscles of the face hold tension we rarely notice, especially around the jaw, the brow, and the sides of the neck.
None of that means you're doing anything wrong. It's what a lived-in face does. A facial helps partly because someone spends unhurried time moving that settled fluid along and easing that held tension. That's a real, physical effect, and it feels lovely.
Much of what makes those minutes work is the hands-on movement and the attention, not the room, the products, or the price. And that is something you can learn to give yourself.
How the Bojin Method helps in a few home minutes
If you already know gua sha, you have a head start: bojin grew from the same family of Chinese hands-on face care, so it will feel familiar. It's still its own deliberate method. What makes it work is three things: the order you work in, the angle you hold the tool, and the exact spot you're working.
The traditional tool is a bojin stick, a slim, polished stainless steel tool shaped to follow the face. You can start with clean fingertips or a smooth gua sha stone you already own while you learn, but the stick is what the method was built around. A tool on its own comes with no method attached, which is why so many of us bought one and never quite knew what to do with it.
The pressure is not the barely-there touch people assume, nor is it forceful. It's the right, comfortable pressure for you, enough to be felt, never enough to hurt or drag the skin. Add the order, the angle, and the spot, and the same few minutes feel different.
Comfortable pressure matters more than hard or light. Hold it at the right angle, and work it in the right order and place. That order, angle, and placement is the method.
A simple at-home routine you can do in a few minutes
Use a bojin stick if you have one, or clean fingertips while you learn. Smooth on a little oil or cream first so nothing drags across the skin. Then work in order, follow the angle of the bone, and use the right comfortable pressure, firm enough to feel, never enough to tug. Nothing here should hurt.
- Warm and settle first Take a slow breath, rest your hands on your face, and let your shoulders drop. Warm skin and a calm body respond far better than a rushed start, so give yourself these few seconds before anything else.
- Read your face before you begin Notice where you feel tightest or puffiest today, maybe the jaw, the brow, or under the eyes. That quick check sets the order you'll work in, because you always start where the fluid needs somewhere to go and move toward it, not away.
- Work the jaw and cheek along the bone Rest the stick or your fingertips at the angle of the jaw and glide along the edge of the bone toward the ear, then follow the cheekbone outward. Keep the tool angled into the bone, not flat against soft skin, and repeat a few slow passes.
- Ease the brow and around the eyes Move to the forehead and brow, working outward toward the temples with light, even strokes. Around the eyes, stay soft and slow on that thinner skin. This is where held tension often lets go and the face starts to look more open and rested.
- Finish down the sides of the neck This is the step people skip, and it's the one that ties everything together. Draw the stick or your fingers gently down each side of the neck toward the collarbone so the fluid you've moved has somewhere to settle. Don't leave it out.
What can I expect?
On a good day, you'll likely see a face that looks a little less puffy, a little brighter, and more rested, especially first thing in the morning or before an evening out. The tightness in your jaw and brow can ease, your serum may sink in more happily onto warmed, moved skin, and there's a quiet confidence that comes from doing something kind for yourself. Over a year, those saved facial appointments add up to real money too.
Now the honest limits. This is a soothing self-care ritual, not a treatment, and it won't replace what a clinic or a professional does. It won't remove lines, bags, jowls, or sagging, and anyone promising that isn't being straight with you. Results are gentle and they fade, which is why the habit matters more than any single session. And anything sudden, one-sided, or painful is worth seeing your doctor about, not something to work on at home.
So no, you don't have to choose between an expensive standing appointment and doing nothing at all. A few honest minutes at home, worked in the right order at a comfortable pressure, sit happily somewhere in between, and they're yours whenever you want them.
Quick answers
Can home face care replace professional facials?
No, and it's fair to say so plainly. A professional service does things you can't fully do at home. What home care can do is support circulation, ease tension, and help your skin look brighter and less puffy between visits, or on its own if you'd rather save the money.
How often should I do this to see a difference?
A few minutes most days does more than one long session now and then. Because the effects are gentle and fade, it's the steady habit that keeps your skin looking rested. Even three or four days a week is plenty to notice a calmer, less puffy look.
Do I need to buy a bojin stick to start?
No. You can begin with clean fingertips or a smooth gua sha stone you already own while you learn the order, angle, and spots. The bojin stick is the tool the method was built around, so many people add one later, but it isn't required to start today.
Is it normal to feel a little tenderness afterward?
A mild, worked feeling in a tight area can be normal, the way easing a stiff shoulder feels. It should never be sharp, painful, or leave lasting marks. If it does, you're pressing too hard, so lighten up. Stop and check with your doctor if anything feels wrong.
See the order, angle, and spot for yourself
Reading about it only goes so far. Watch the free 3-minute video and I'll walk you through the exact order to work in, the angle to hold, and the spots to find, so your next few home minutes feel different. It's free, it's short, and you can follow along at your mirror tonight.
Watch the free 3-min videoYu-Ting Lan is a Taiwan-based international bojin instructor and the founder of Héhé Studio. She has taught her bojin method to more than a thousand students, from complete beginners to grandmothers, across Taiwan, Hong Kong, and Malaysia.