The Bojin Journal · Myths & real talk
Gua sha not giving you results? The simple fix most people miss
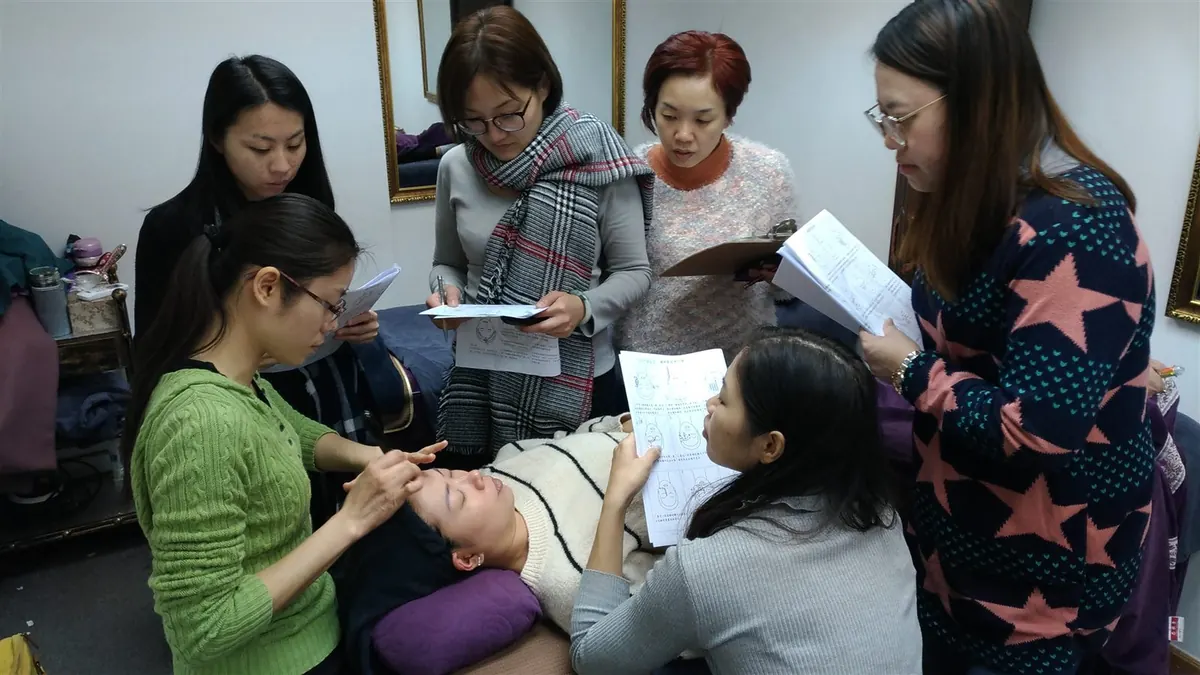
You bought the stone, watched the videos, and your face looks about the same as it did before. It isn't that you're doing it wrong, and gua sha isn't a bad tool. What's missing is the method: the order you work in, the angle you hold, the exact spot, and the right comfortable pressure that no one ever taught you. The good news is you can add that to the stone already sitting in your drawer.
Why isn't my gua sha doing anything?
Think about how most of us learned. Someone handed us a smooth stone, we watched a minute-long clip, and we started sliding it around our cheeks whenever we remembered. There was no map: no one showed us where to begin, which direction to travel, or how the tool should sit against the bone. A tool on its own comes with no method attached.
So the tool isn't the problem, and neither are you. Without a sequence to follow, the same few minutes tend to wander. You press a little here, drag a little there, and your skin never gets the consistent, guided signal that makes a difference in how tight or puffy your face feels.
There's also the pressure question. Most people assume the answer is to press harder, or barely touch at all. Both miss. What your face responds to is the right, comfortable pressure, firm enough to be felt, never enough to hurt or drag the skin, applied with intention rather than at random. Once the routine has a clear sequence behind it, the same few minutes stop feeling so hit-or-miss.
What changes when the routine has a method
The difference is structure. What makes the same few minutes feel more useful is usually three things: the order you work in, the angle you hold the tool, and the exact spot you're working. Instead of gliding wherever your hand happens to land, you start where your face is actually tight or full and move with a plan.
You do not need to buy anything new to test that difference. Your existing gua sha board, whether jade, rose quartz, or any smooth flat stone, is very likely enough. The missing piece is usually not a different object. It is the routine you add to the object already in your hand.
Use a little oil or cream so nothing drags, work in order, let the angle of the bone guide each stroke, and keep to that comfortable pressure. Suddenly the same stone, the same few minutes, feel different, because now there's a plan behind every move.
Comfortable pressure matters more than pressing harder or barely touching. Hold the right angle, work in the right order, and find the right spot. That alone changes a wandering routine into a guided one.
Add the method to the stone you already have
Use your gua sha stone and a few drops of oil or cream so nothing drags. The whole point here is troubleshooting the routine you already have: work IN ORDER, follow the ANGLE of the bone, and keep the right COMFORTABLE pressure, not featherlight, not forceful. Firm enough to feel, never enough to tug.
- Warm up and settle Rest the stone flat against one cheek and take a few slow breaths. Let your shoulders drop. This isn't wasted time: it settles you and lets the oil warm so the first strokes glide instead of catch.
- Read your face first Before you move, press gently along your jaw, cheeks, and brow and notice where it feels tight or full. Wherever feels the most tense is where you'll begin. Reading your face first is what sets the order for the day.
- Work the cheeks along the bone Set the edge of the stone at the side of your nose and glide out toward your ear, following the underside of the cheekbone. Keep the tool at a low angle so it hugs the bone rather than digging in. Three or four slow passes.
- Ease the jaw and brow Move to the tightest spot you found earlier. Along the jaw, travel from chin toward ear. At the brow, work from the center outward toward the temple, angle low and steady, comfortable pressure the whole way.
- Finish down the sides of the neck This is the step almost everyone skips, and it's the one that matters most. Sweep gently from just under the ear down the side of the neck toward the collarbone, several times on each side, so any fluid you moved has somewhere to go.
What can I expect?
Most people notice the everyday wins first: a face that looks a little less puffy and more rested in the morning, a jaw and brow that feel looser, skin that looks brighter and more lifted-looking for a while after, and serum that seems to sink in better. Many women also love the few quiet minutes themselves: the calm and the small hit of confidence that comes from doing something kind for yourself.
Now the honest part. This is a soothing self-care ritual, not medical care. It isn't a treatment for wrinkles, under-eye bags, or the natural changes that come with age, and results are gradual and temporary rather than lasting. It works best as a habit you enjoy rather than a fix you're waiting on. And anything sudden, one-sided, or painful is worth seeing your doctor about: that's not what this practice is for.
If your gua sha stone has been disappointing you, start by changing the routine before you change the tool. Learn the sequence, angle, and pressure, then see how the same stone feels.
Quick answers
What is the most common reason gua sha seems to do nothing?
Usually it is not one dramatic mistake. It is a loose routine with no clear sequence, no attention to angle, and no sense of which spots actually need the work that day. A few guided minutes tend to do more than a lot of random passes.
How long before I see any difference?
Many people notice a less-puffy, more-rested look the same morning they do it. Anything beyond that quick freshness is gradual and builds with a regular habit. It's temporary and it's subtle: think of it as a few good minutes for your face, not an overnight change.
Am I doing it wrong?
Probably not. Most of us were handed a stone with no method attached: no one showed us the order, angle, or exact spot. That's not a personal failing, it's a missing instruction. Add the sequence and the guided angle, and the same stone feels different.
How hard should I press?
Aim for the right, comfortable pressure for you, firm enough to be felt, never enough to hurt or drag the skin. Pressing harder isn't the goal, and barely touching isn't either. Let the angle of the bone guide each stroke and keep it comfortable throughout.
See the order, angle, and spot in 3 minutes
The method is far easier to watch than to read. Our free 3-minute video walks you through the exact order to follow, the angle to hold, and the spots that make the difference, using the stone you already have. Watch it once, then try it tonight.
Watch the free 3-min videoYu-Ting Lan is a Taiwan-based international bojin instructor and the founder of Héhé Studio. She has taught her bojin method to more than a thousand students, from complete beginners to grandmothers, across Taiwan, Hong Kong, and Malaysia.